Showing posts with label revamping. Show all posts

Sunday, April 27, 2014

A small vintage tour of my home- Dining/ Playroom

As many of you know, I have a thing for vintage. Many moons ago I was a strictly Goodwill and eBay kind of gal. This opened the doors to garage sales and my favorite...estate sales. I prefer estate sales above all else because being in a persons home, seeing their personal items in their element, getting an idea of who the owner was...this is what I love. 

Estate sales also taught me a lot about what matters in decorating and gave me a lot of inspiration along the way. Through the years, because of this, my home has changed drastically. I recall when we first moved into our home, pre-children and pre-everything (marriage and dogs to name a couple), I painted our kitchen yellow. Like McDonald's "golden arch" yellow, and I bought all of the Italian vintage poster dishes and posters that was big in Pottery Barn at the time. Ugh, I HATED it. It wasn't me, it was a picture in a catalog, and surprisingly the yellow gave me stress beyond belief. 

I then came into my own as far as decorating my home, and I am at a place now where I love nearly everything in my home. I say nearly because we have acoustic popcorn ceilings and an unintentional vintage late 1970's kitchen, but those changes will come.

So, if I still have your attention, I'd like to give you a little tour of my home and how I use found vintage and antique items in everyday decorating. I am thinking this can be a series, pictures of my outdated kitchen excluded, ha!

 So, let's get started with the first room in the tour:


I am starting with this room because I just finished it. It has been a playroom for the last 8 years, and I am VERY slowly making it into a dining room. So for now it is a hybrid and that suits us as a family just fine. 

The dining room is average in size, and truthfully I have too much furniture in it. Furniture I just can't part with. I recently purchased the blue painted furniture from Craigslist, a buffet and hutch. It's 1940's and just lovely. The table is an old farm harvest table, that is soon to become a proper table with tall legs, but works now as the girl's play table. 

Oh, and that chair in the back? A Pottery Barn estate sale find. $20! 
One of my favorite things in this room, my Nana's earrings that I display in a shadowbox. I LOVE this so much, and it's easy to do with ribbon and a frame.
  
Here it is again with a thrift shop lamp, old records, and a Mary Poppins song book. 
  
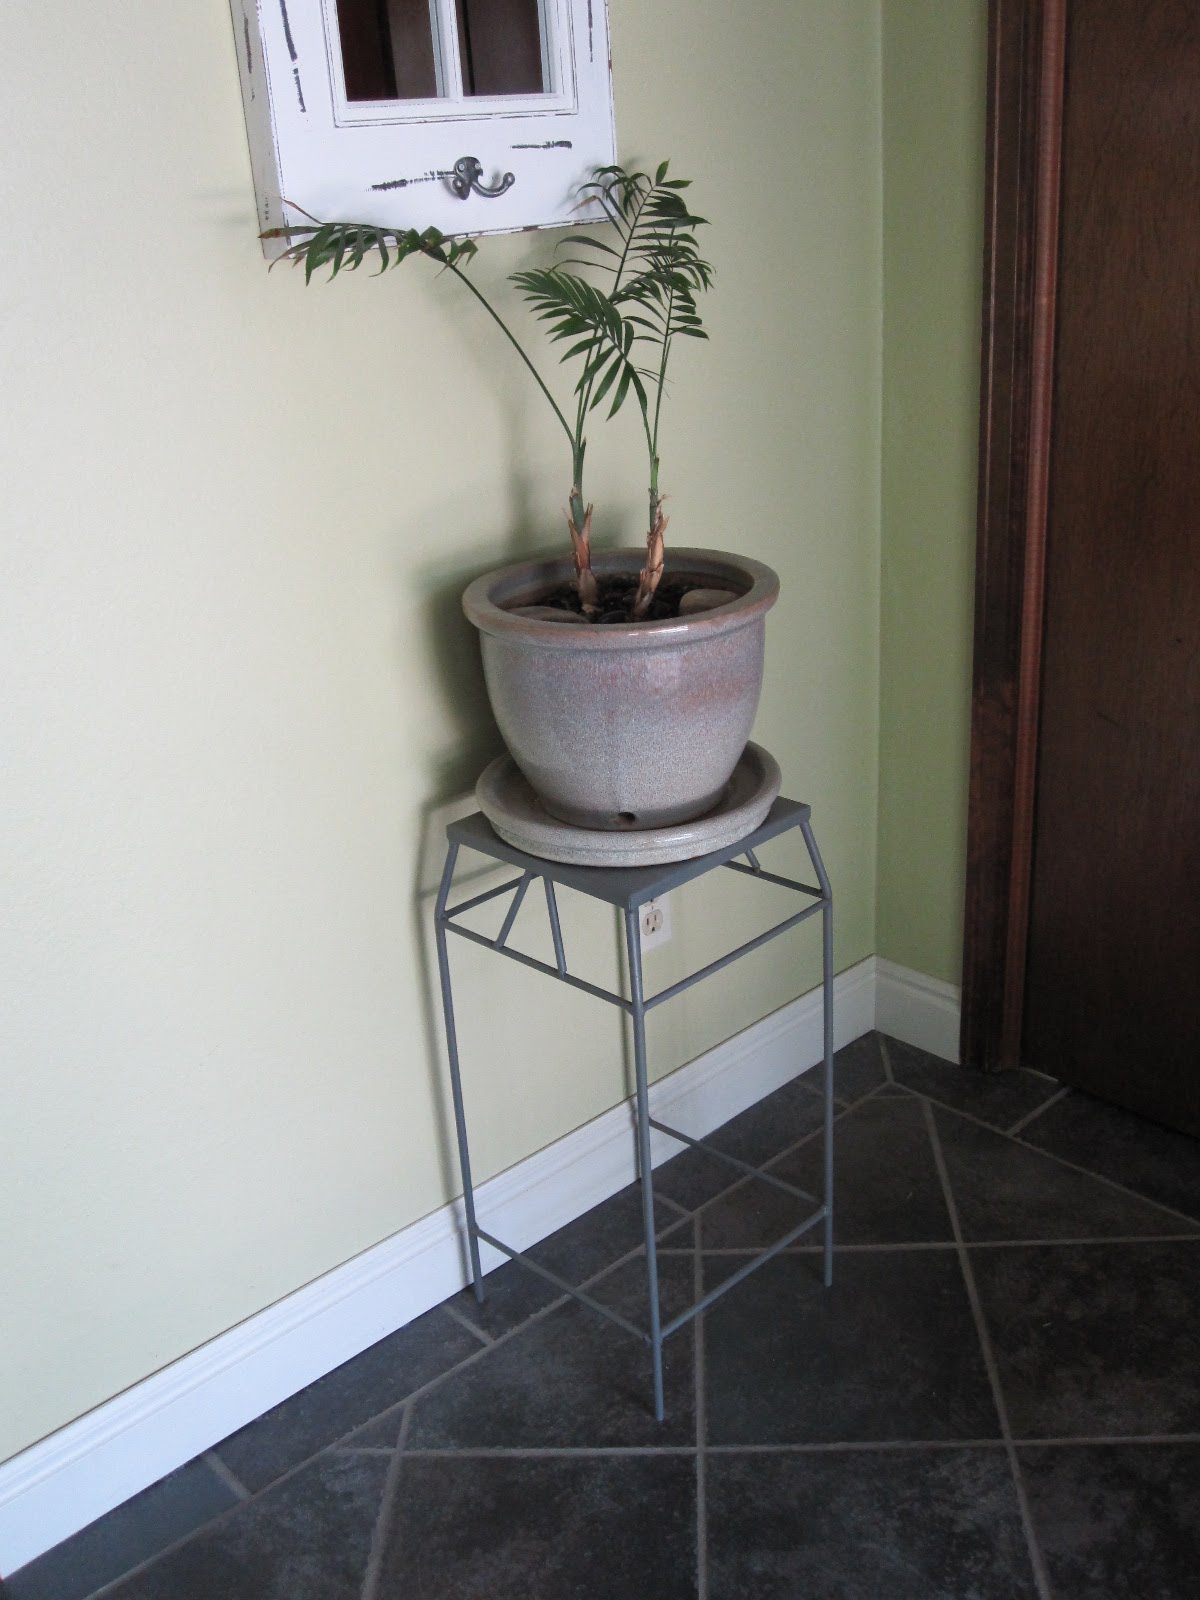
Another view: the pictures sit on an Ikea shelf. 

 
Here is a look into the room:
Notice that I hung curtains, also Ikea, up to the ceiling in the playroom to close off any chaos that may ensue!
Opposing corner: 
Here is the hutch that matches the buffet. I adore it, but it may not be the perfect fit for this ever evolving space. Don't be surprised if you see it for sale in the future!

Atop of the hutch is our collection of Small World Dolls. These were a big hit around Christmas! 
Under the hutch is our collection of vintage Fisher-Price toys that my girls (8 and 5) still play with daily. 
Also pictured is our old school desk that my daughters complete their homework at. It's been calling at me for a coat of paint for years! 


This "Rock-a-bye Baby" pressed board wall art is going to be one of those things that will always have a spot in my home. I will have a hard time parting with it, I love it so! The nursery rhyme prints I bought with my late sister Mona when I was pregnant with my first (Charlotte), so I am keeping these forever as well! 
And the final touch is this lovely 1950's dress. I bought it at a vintage store closing because it was so beautiful. I figured maybe one day one of my daughters could wear it to a dance? But until then, it's wall art. 
 

I hope you enjoyed the first of many rooms to come in my home tour! Please leave a comment and let me know what you think. 

If you'd like to see more ways to give your home a vintage feel, please head over to One King's Lane and check them out!


Friday, April 18, 2014

Ugly outlet cover solution

I came up with this idea awhile ago, and I made mental note to put this in my "invention notebook", the one that does not exist. I keep on meaning to write down all of my genius ideas, but they are so fleeting, and I always forget:)! Anyway, this was one of those ideas.

That outlet is ugly, cream, and right in my face.
See, it may seem like nothing to most, but my counter height electrical outlets drive me nuts. I often find myself plugging in those small wall wax warmers just to stick something in them.

Then I thought, "why not a picture frame?".  I thought of using a frame with an outlet plug cover to jazz things up.

A quick trip to the Dollar Tree was in order to gather my supplies. I needed a lightweight 4x6 picture frame, lightweight and cheap!
This is what I decided on. Pretty basic.


Back view
 Next I removed the cheapo stand, a quick pull and it was gone, leaving a nice flat back.

Photo stand removed
 I then held my frame up to the wall outlet to see where I should position the outlet cover (that we all have leftover from when our babies were sticking their fingers where they shouldn't).
Position and THEN glue
 I then simply hot glued the outlet plug onto the back of the frame, and there you have it!


Add a photo!

Add a printable (I have a chalkboard "You Are My Sunshine" print in this picture)


Easily use it as a dry erase board. Just insert plain or patterned paper into the frame and use a dry erase marker in the glass!
Hope you enjoyed this easy project!

Monday, November 8, 2010

Bathroom Redo

 So I repainted the bathroom on a whim this past week. I had some oops paint sitting around, which I had to then mix with my stash to get a nice blue...nightmare...but fun:)!

Here is the before, not bad, but a little too blah. I made those painting over the toilet buy stretching material over canvas, painting, and modpodging. The silhouettes are just pink construction paper of my husband, Charlotte, and I. No Matilda....time for a change!

Here I switched it up a bit, I found that Good Housekeeping picture at Goodwill but didn't like it in the bathroom. It will go into storage for now!
After...ahh much better! I put in the light fixture that I found at Goodwill as well- with all of the parts! None missing, and it had the original box and instructions. I love Goodwill! Now I just have to finish with a chair rail, possible beadboard wallpaper, and baseboard. Oh, and the fluorescent bulbs we have in the bathroom are not the best for picture taking. Sorry!

 The above prints are from Elsita on Etsy.
The burlap sign that I made. Make your own using my tutorial!

Linked to the following parties:
http://betweennapsontheporch.blogspot.com/
http://beckieandbrad.blogspot.com/

Tuesday, September 7, 2010

Entry way- before and after!

Our entry has always been on my to do list. We have limited space due to our groovy bi-fold closet doors and a rather small wall to work with.

Here is the before. Really, what was I thinking?
Then I found this at the thrift store. Recall my "do I love it or not?" post? Well, I decided to keep it.

Then I painted it, first with a brush...complete nightmare. Finished it of with spray paint...much better! I did however paint the inside with a brush in Silver Sage. Then I began to distress it. I got REALLY nervous with this step. How does one know when to stop? And the grooves were the worst, I ended up using a butter knife to get in there and get all of the paint out.

But in the end I think I did pretty well.
I am sorry for the lack of nice pics here. This is what our entry way looks every morning when the sun hits the stained glass. It looks much better in person:).  What do you think?

Linked to the following parties:
http://betweennapsontheporch.blogspot.com/2010/09/welcome-to-86th-metamorphosis-monday.html
http://www.sillylittlesparrow.com/2010/09/toot-your-horn-tuesday-husband-toot.html
http://craftedition.blogspot.com/2010/09/take-look-tuesday-and-giveaway-reminder.html
http://www.thegypsyscorner.com/2010/09/93rd-three-oe-more-tuesday.html
http://linda-coastalcharm.blogspot.com/2010/09/nifty-thrifty-tuesdays-no28_06.html

Also linked to:
http://southernhospitalityblog.com/yardsales-and-al-football/


Monday, August 30, 2010

Retro garage sale light revamp

It started with this light. I saw it at a garage sale marked $15 and for $10 it was mine! I loved it, the little one loved, the husband...not so much:) Haha.

I thought about keeping it blue and putting it in the kitchen which currently (note I said currently, this could change with a whim) is blue and red retro kitch. Alas I am a kind-hearted woman and let my daughter have it! A few coats of spray paint and it was ready for her room.

Here was her old one, which went with her vintage nursery rhyme theme. Very adorable but no longer suitable for a 4 year old "big girl".
So I took it down and began a solo trip down my path to becoming an electrician. Yep, you read that right, I began to hang this myself, my husband wasn't even at home! That's confidence.

First I had to realize that I have some very gross 1978 popcorn ceilings, which I knew I guess. I just avoid looking up at them until I have to. Like today. Then I notice the ugly dirt ring which just means another trip to Home Depot was needed for a ceiling medallion. 

Followed by my staring at the ceiling and trying to figure out my plan of attack. Trust me I was laughing at myself and possibly throwing out some "oh fudge"'s. But I got it up there! It was trial and error and I had to use some painters tape to hold some things in place, but it works!
And once the cover went on along with the beads, it is perfect!
It looks so great in her room and I think she likes it too!
In Charlotte's words "Mama, how romantic! I really love that you made that for me!". Yes, she is a pretty cool kid!

PS, I linked this great find on Rhoda's page over at Southern Hospitality